Step 1: Evaluate Your Home’s Solar Potential
Before you begin the installation process, it’s important to evaluate your home’s solar potential. This includes assessing the amount of sunlight that your roof receives, the orientation of your roof, and any potential shading from nearby trees or buildings. By evaluating your home’s solar potential, you can determine the optimal placement for your solar panels and maximize your energy savings.
Step 2: Calculate Your Energy Needs
The next step is to calculate your home’s energy needs. This involves determining your average monthly energy consumption and the number of solar panels needed to meet those energy requirements. You can use an online solar panel calculator or consult with a professional to determine the optimal size of your solar panel system.
Step 3: Choose the Right Solar Panels
Selecting the right solar panels is crucial to maximizing your energy savings. There are a variety of solar panel options available on the market, including monocrystalline, polycrystalline, and thin-film solar panels. Each type of panel has its own unique advantages and disadvantages, so it’s important to research and select the option that best suits your needs and budget.
Step 4: Obtain Necessary Permits and Approvals
Before you can begin the installation process, you’ll need to obtain any necessary permits and approvals from your local government and utility company. This includes obtaining a building permit, electrical permit, and interconnection agreement with your utility company.
Step 5: Install Racking and Mounting Equipment
Once you have obtained the necessary permits and approvals, you can begin the installation process. The first step is to install the racking and mounting equipment that will hold your solar panels in place. This involves attaching the mounting equipment to your roof and ensuring that it is secure and level.
Step 6: Install the Solar Panels
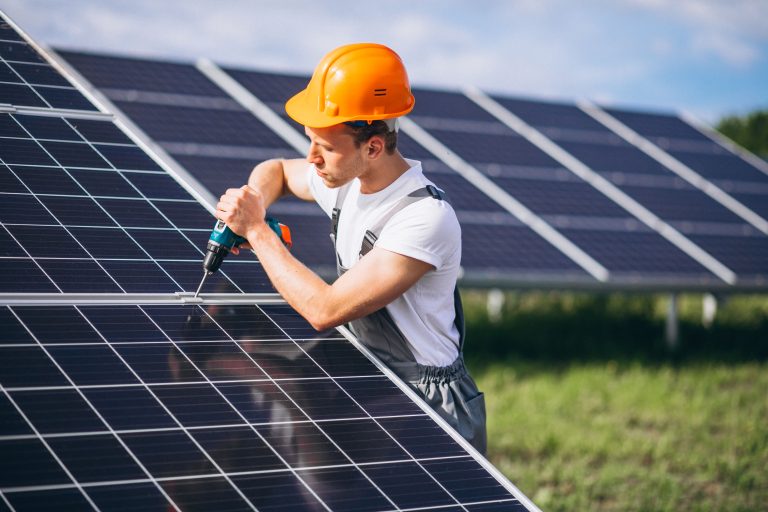
After the racking and mounting equipment is installed, it’s time to install the solar panels themselves. This involves attaching the panels to the mounting equipment and ensuring that they are securely fastened and properly aligned.
Step 7: Connect the Solar Panels to Your Home’s Electrical System
Once the solar panels are installed, they need to be connected to your home’s electrical system. This involves installing an inverter that will convert the DC energy produced by the solar panels into AC energy that can be used by your home’s appliances.
Step 8: Inspect and Test the System
After the solar panel system is installed and connected to your home’s electrical system, it’s important to conduct a thorough inspection and testing process. This involves checking for any potential issues or malfunctions and ensuring that the system is functioning properly.
Step 9: Monitor Your Energy Savings
Once your solar panel system is up and running, it’s important to monitor your energy savings to ensure that you’re maximizing your investment. You can do this by tracking your energy usage and monitoring your energy bill to see the impact of your solar panel system on your overall energy costs.
Step 10: Maintain Your Solar Panel System
To ensure that your solar panel system continues to operate efficiently and effectively, it’s important to perform regular maintenance and cleaning. This includes inspecting the panels for damage, cleaning them regularly to remove any dirt or debris, and ensuring that the system is properly ventilated. We hope this guide has provided you with all the information you need to successfully install solar panels for your home. By following these 10 steps, you can maximize your energy savings and reduce your carbon footprint. Happy solar panel installation!


